Decoupage DVD Box
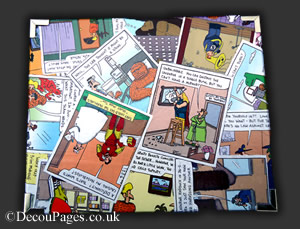
This project uses an Ikea DVD box and cartoons from a calendar.
Useful Learning Points
When using anything but Decopatch paper it is worth trying a test piece. You can just stick a sample onto some card and see how it copes with being repositioned and trimmed when wet and if the print smears or bleeds.
Unlike Decopatch paper, this ordinary printed paper is very fragile when wet with the glossy-glue. This paper couldn't be repositioned and brushing too hard or more than necessary started to smear the print.
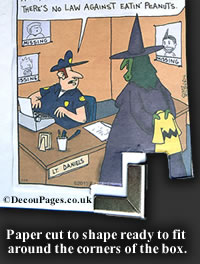
This means that the paper needs to be cut to shape before gluing in place - it can't be trimmed when wet.
I also used my fingers to smooth the paper before applying the top coat of glossy-glue. This minimises the amount of brushing over the print.
Another point to consider is whether the lid will still fit when there is a double thickness of paper (due to the overlap) all the way round the box.
This project would have been so much easier with a blank Decopatch box - no fiddly bits of trim to work around, no awkward flap corners and no worries about the lid being tight.
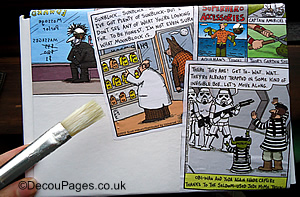
Don't be too concerned about having the text all the right way up. The design looks much better when the cartoons are at different angles.
Because the paper the cartoons are printed on isn't as strong as Decopatch paper, each cartoon needs to dry fully before adding another layer on top.
Bubbles tended to appear as the paper was drying, even though they weren't there when the paper was first stuck down. These disappeared as the paper dried.
Step-by-Step Decoupage Box
1. Do a trial by sticking an off-cut to a piece of card. See if you can reposition the paper when wet. Try to trim it while wet. Check if the print smears when you brush the glue over it. Does the print on the back show through when it is dry?
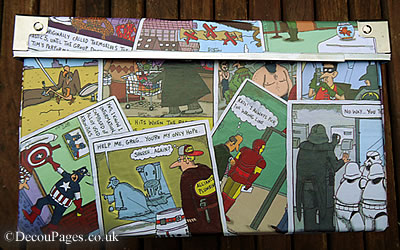
2. Plan the lay out of the cartoons. Have them at different angles and overlapping the edges.
3. Trim the paper to fit around the box trim before sticking down. Only cut one or two cartoons to size at a time as the design may well evolve and you might want to change where different cartoons are placed.
4. Apply the glossy-glue to the box, covering an area slightly larger than the cartoon. Starting at one edge of the cartoon, carefully smooth the paper to avoid bubbles. If you are trying to match the paper to an edge or piece of trim then start by sticking that edge or corner down first and smoothing the paper out from that point.
5. Apply a layer of glossy-glue over the cartoon and allow to dry.
6. Repeat until the box is covered.
7. For a more durable finish, coat with a layer of AquaPro varnish.
8. Clean any splashes of glue and varnish off the metal with a damp washing-up sponge.
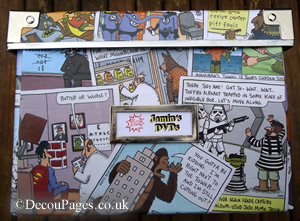
9. Finally, I added a label to the front that was in keeping with the super hero /film theme.